Virtual Fujifilm
Gallery
Creative Technologist & Developer
Three.js · GLSL · JavaScript · Vercel
"Not just a gallery — the world felt still."
Intro
This project was my intro to creative tech, solid three.js fundamentals applied creatively. I wanted to create a world with strong visuals and photography, all displayed in an immersive world.
I had just completed Chapter 2 of my three.js journey when I decided it was time to build my first three.js project. My skill level is basic, but I know all the foundational skills to build a scene- light, geometry, textures, materials, etc.
Mapping out my vision was easy because I knew I wanted to replicate the feeling of being inside nature- a common theme in a lot of my art. So, naturally, I decided to make this not just a walk-through gallery in a 3D space, but to provide the experience of human presence in something more vast.
Planning
I started by building a board on FigJam. Adding and subtracting photos to create 3 distinctive mood boards, along with Pinterest saves for the world I wanted to build. Here, I chose my photography, in what order, and came up with all 3 scene names- 'Ethereal Reality', 'Textures: A close look', and 'My Tribute to Fall'.
Planning came naturally as I had already been sharing my photography on my Instagram page @chasingmistry. But building a three.js scene around it with basic three.js coding was a challenge I was excited to take on.
Performance Optimization
- 1 Converting all my photography to WebP using Cloud Convert.
- 2 Used a Panel geometry to mimic a RectAreaLight (the most performance expensive light!) around my photography. The shader map was a transparent square I made in Figma.
-
3
Using
initanddestroyto render one scene at a time.
Learnings
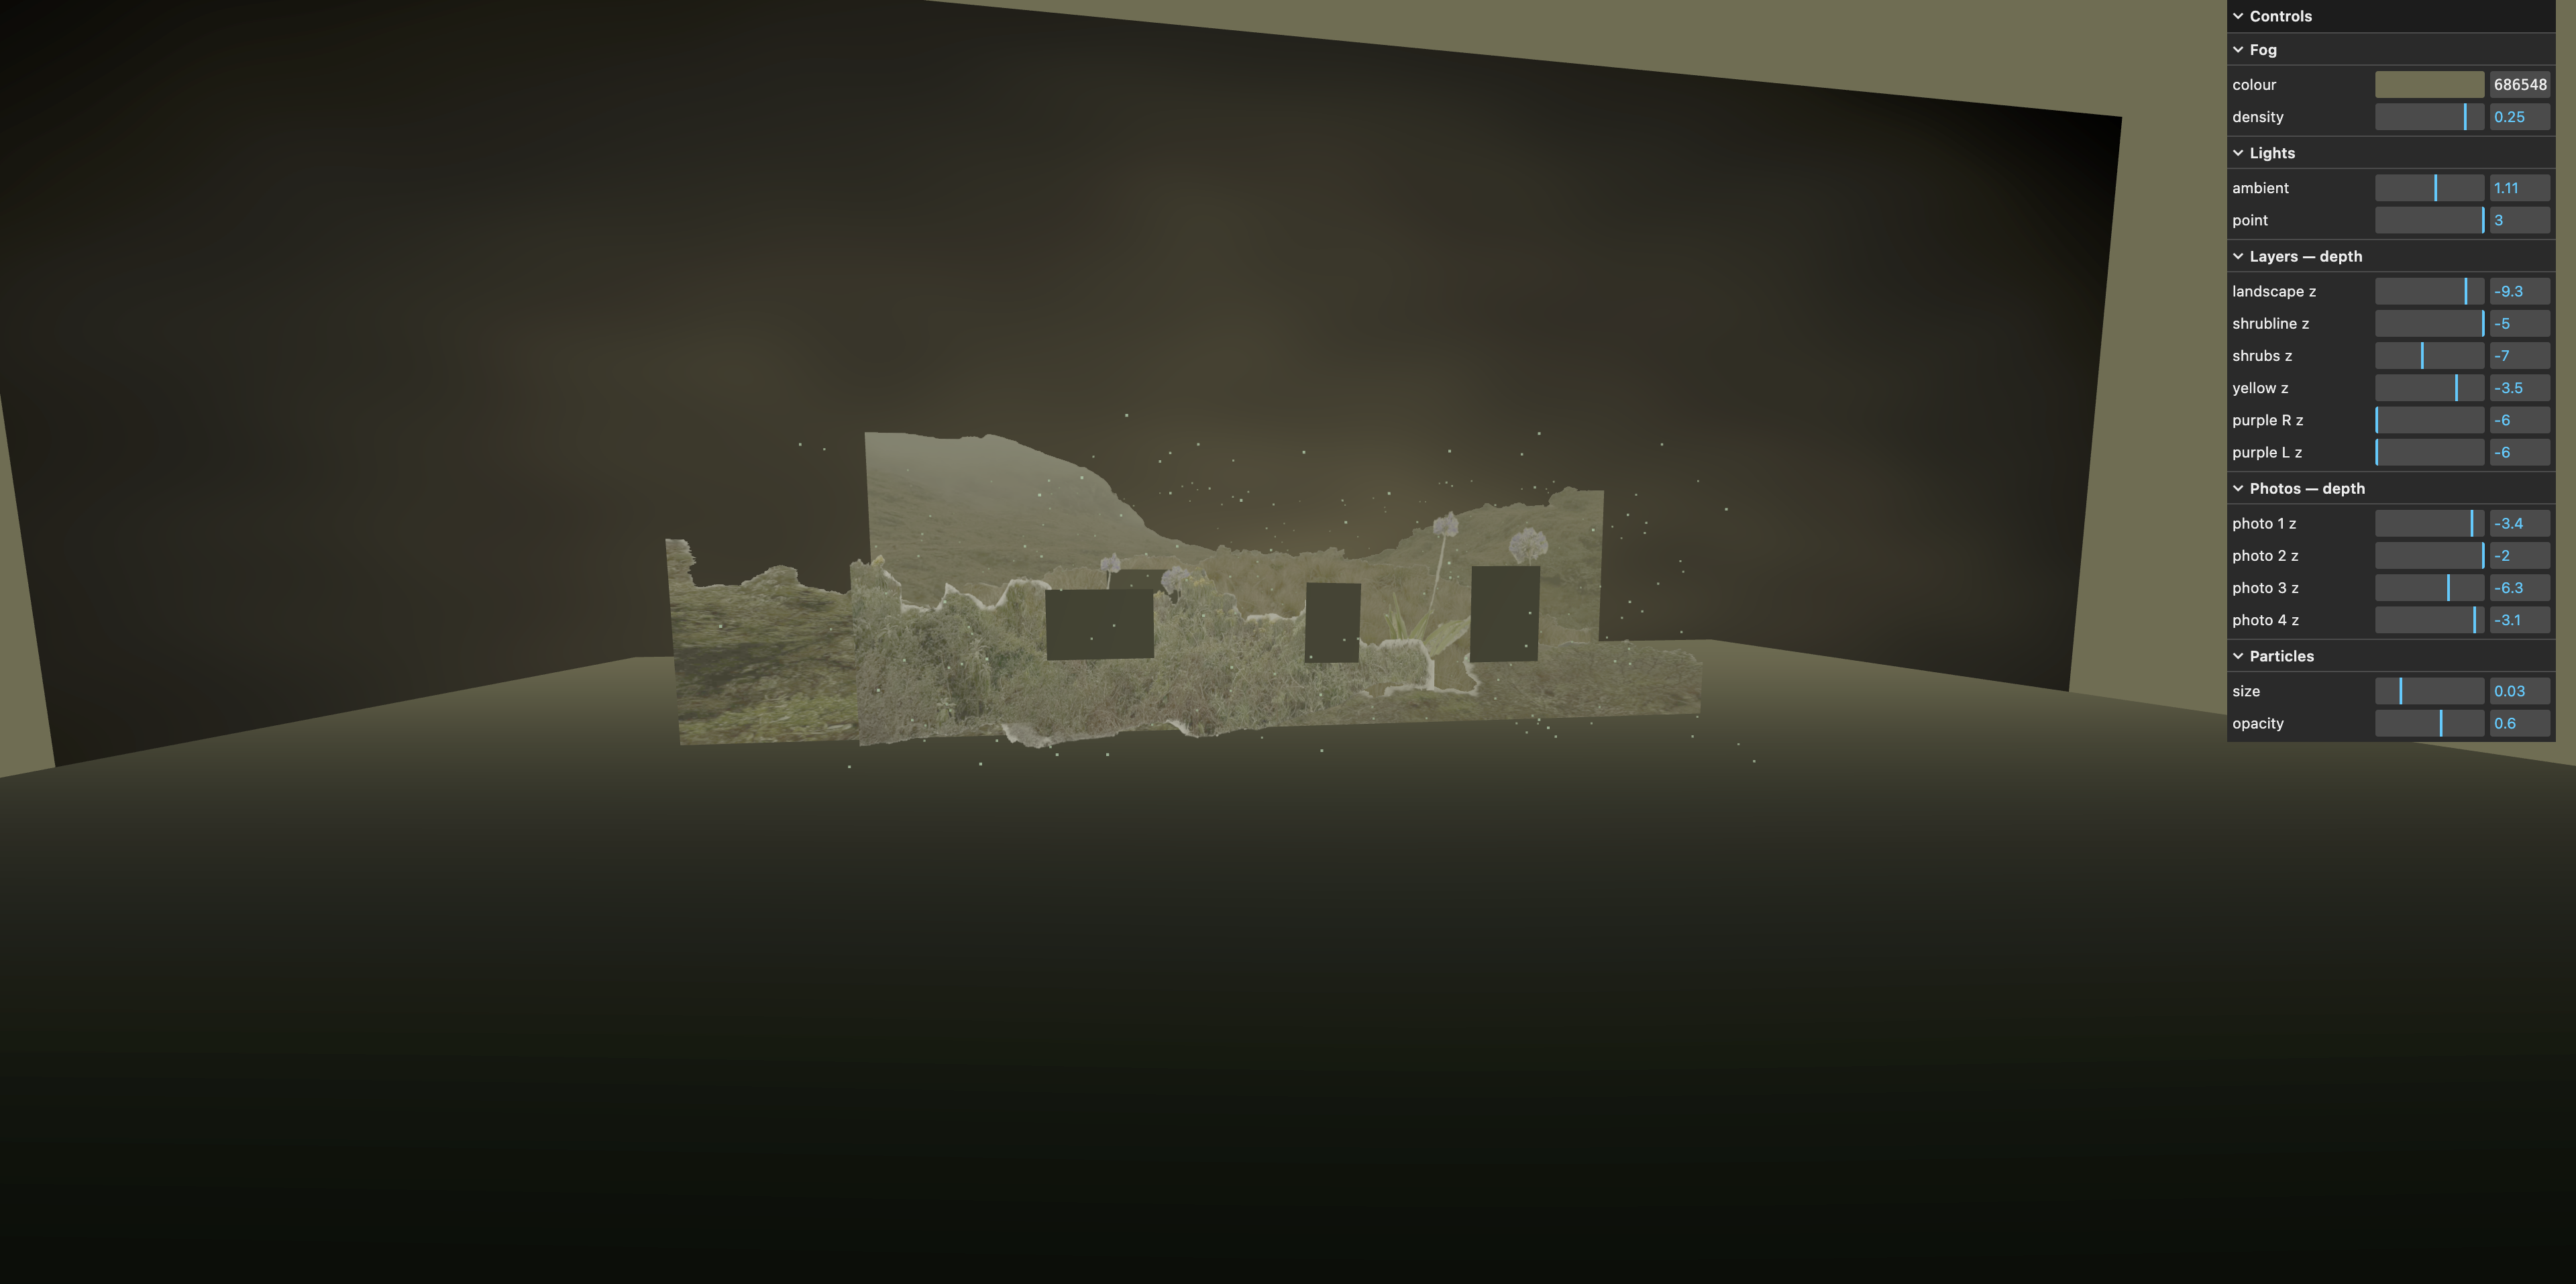
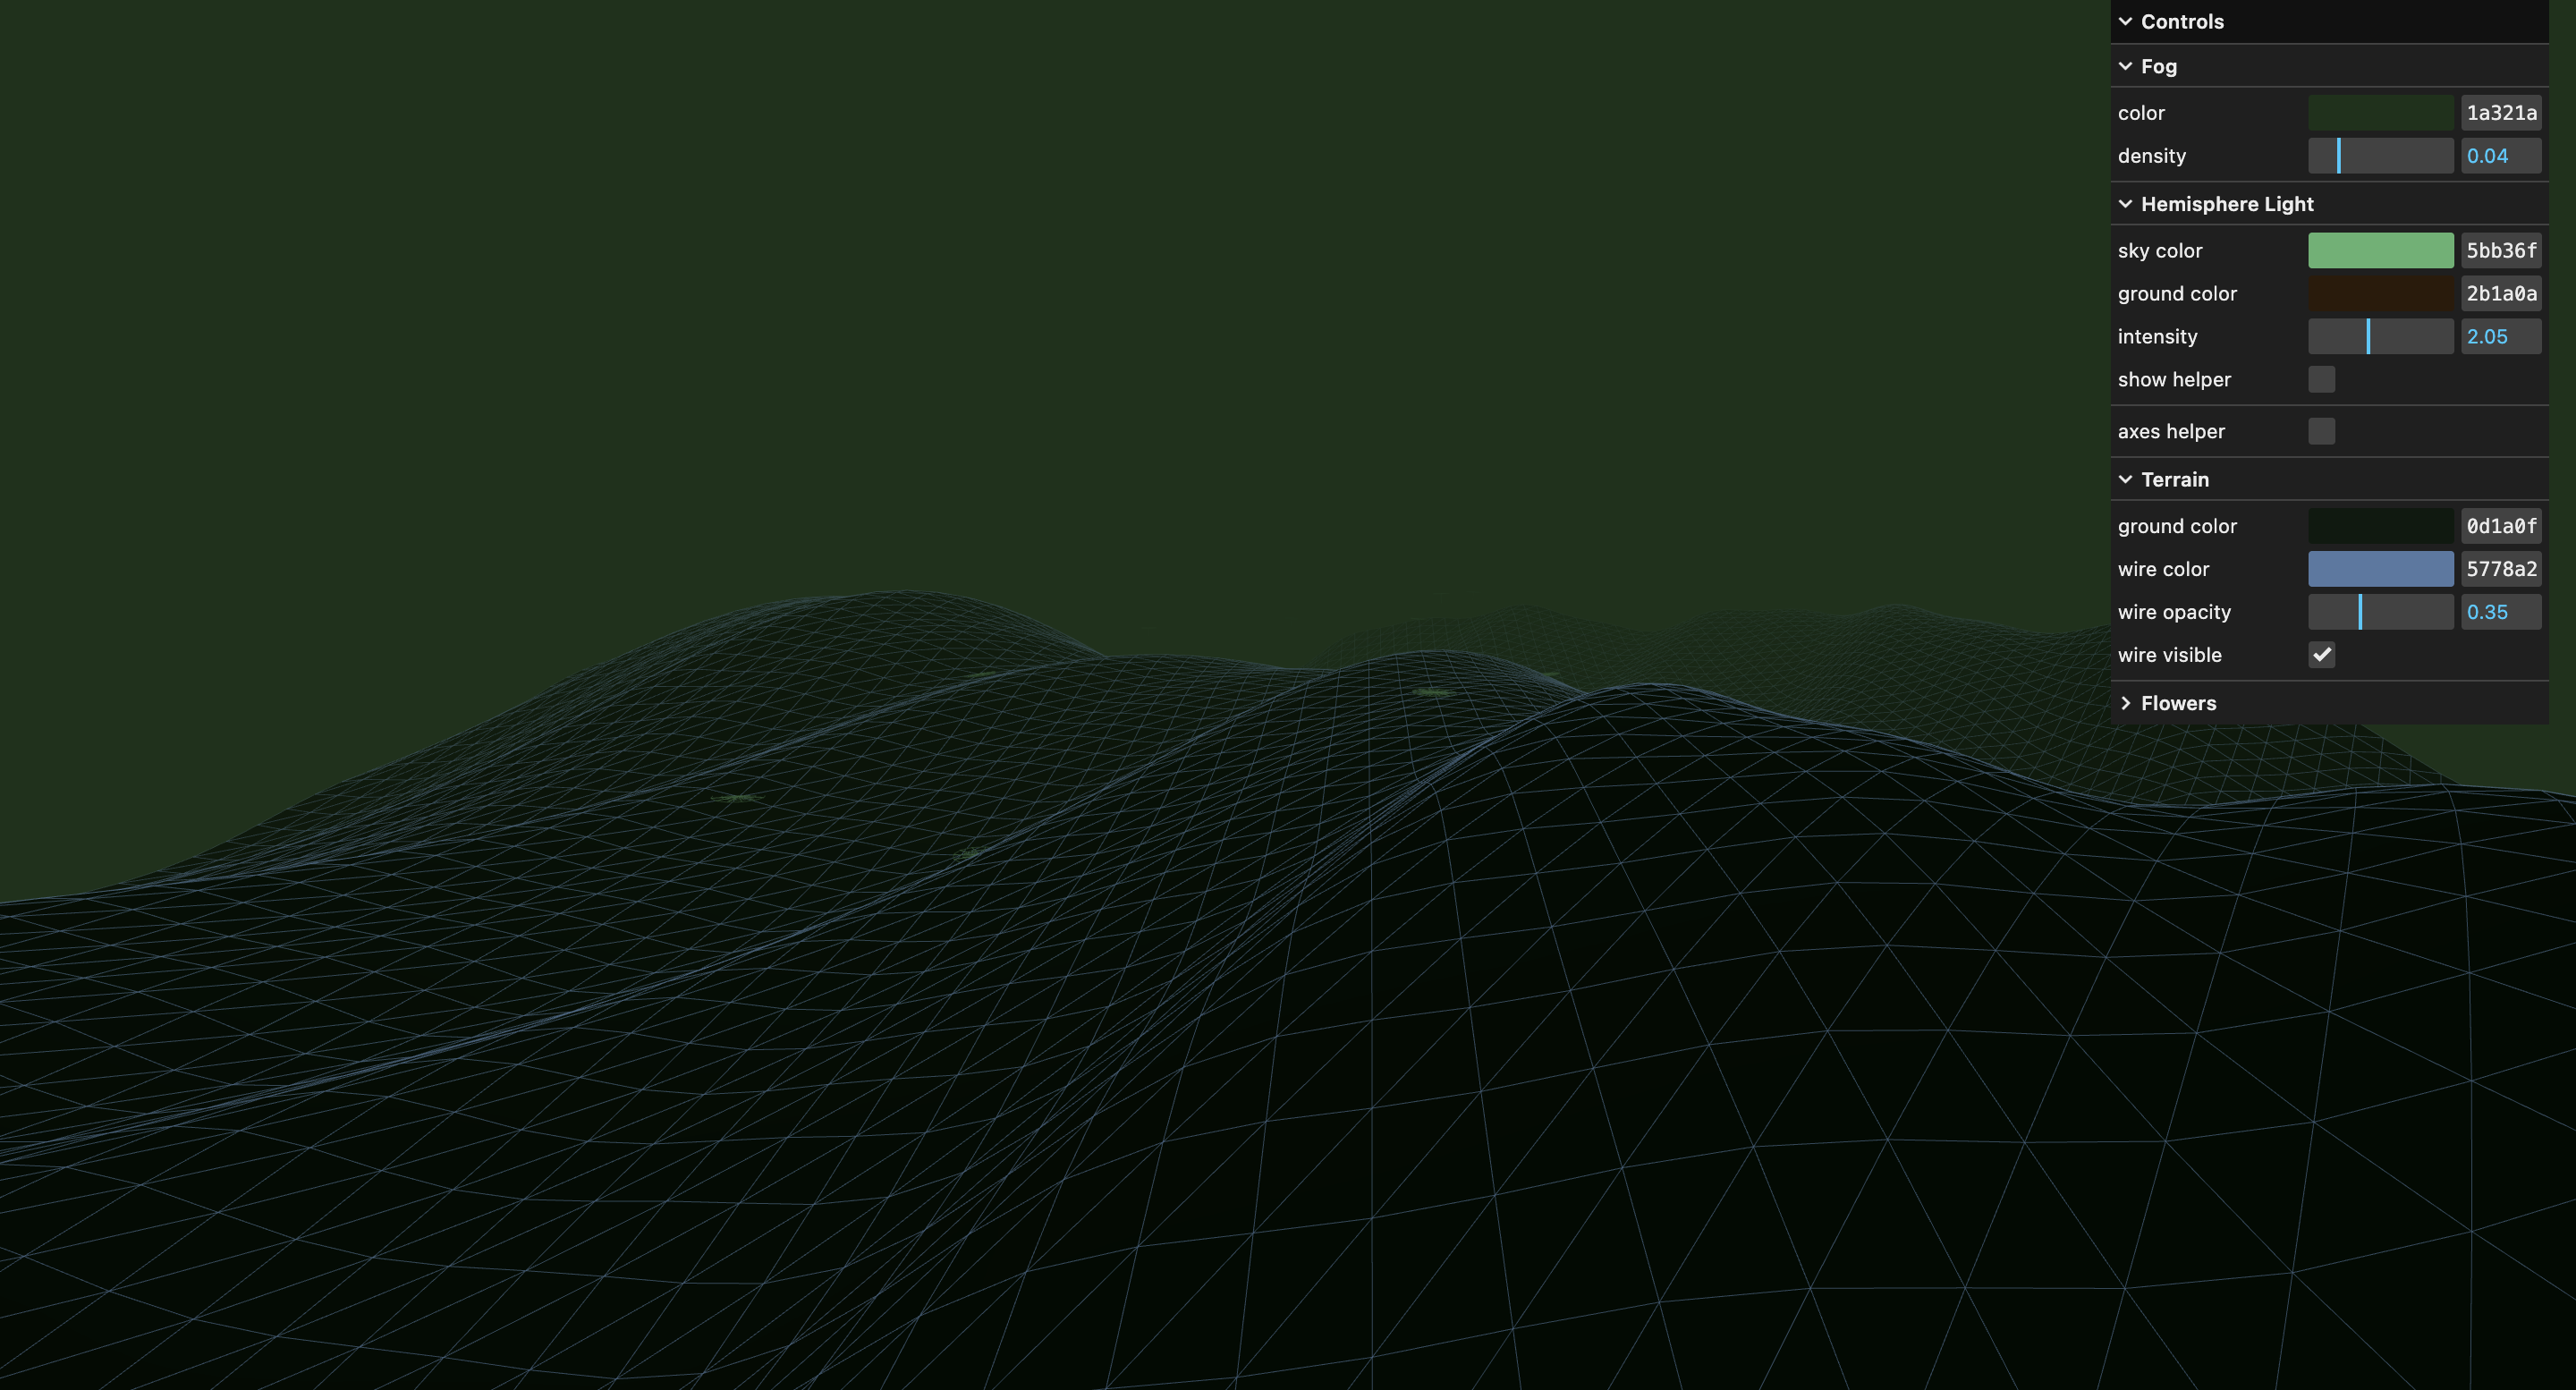
I was quickly humbled to know that basic techniques could not re-create my vision right away. So I learned, I needed to make it exist- before I could make it better. The GUI tool was especially helpful with this. Tweaking fog density, object placement, lighting, or even turning my scene around- all slowly got me to my final result.
Seriously, at one point I was quite unhappy with my scene until I spun it around and realized, my scene is great, I just had to re-select my photography.
Especially keeping performance in mind, afterall I was to display high resolution photography straight out of my Fujifilm camera, which holds a lot of data on its own.
Previous Versions
Use of AI
That said, I did use some more complex elements with the help of Claude - treating them like plugins- to still maintain the integrity of the concepts I had envisioned.
-
1
Shader My Texture scene uses a shader background, a skill I have not learned yet, but I felt as though I needed to bring depth to my scene. I wanted soft, backlit clouds floating in the back, which I couldn't achieve using HDRI or even basic geometry.
-
2
Combining Scenes While each scene was handcrafted by me, to choose between 3 worlds, I needed to combine my projects, consolidate shared code into one
main.jsand render them together. -
3
Terrain Displacement In both my Fall and Ethereal Reality scene I use a plane geometry for the base. However, with the added displacement done with the help of AI. Again, I wanted depth, and a flat plane would not highlight my use of lighting nor emulate the feeling of hills.